There have been many times during houseplant presentations when I’ve said, “Someday I’ll write a post about my tank.” And yet, I haven’t done so as far as I can tell until now.
Since being set up in July of 2019, it’s been cleaned out about once a year—but I’m here to say that cleaning the plants at the most every 6 months would be a better idea.
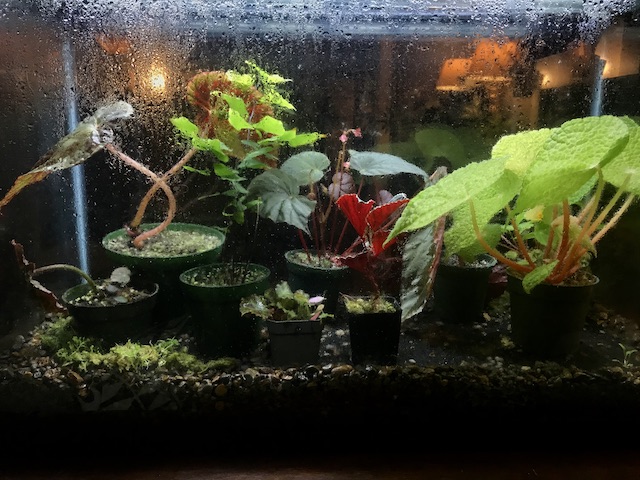
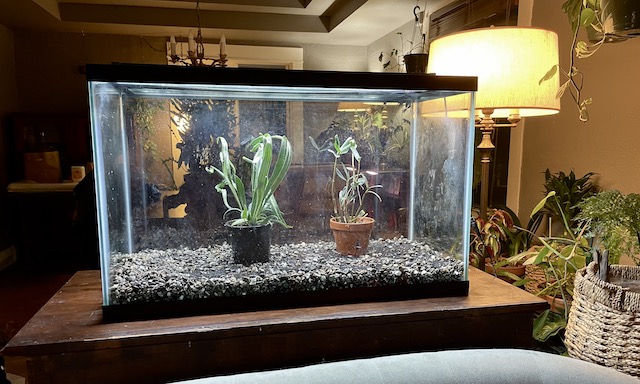
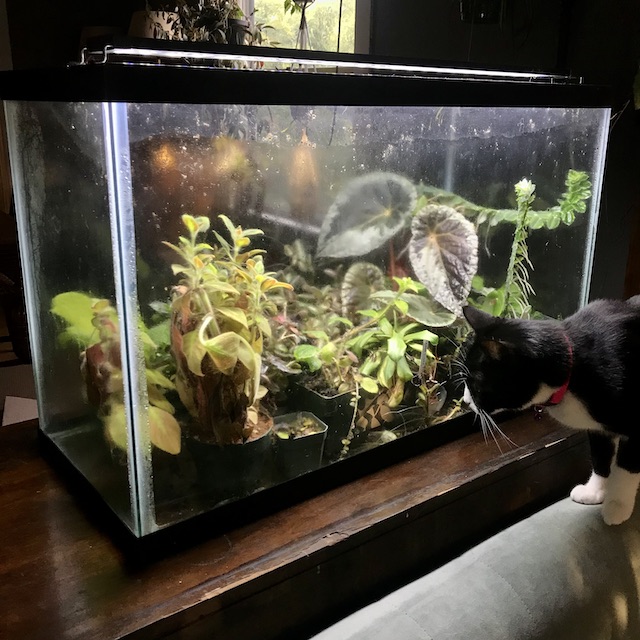
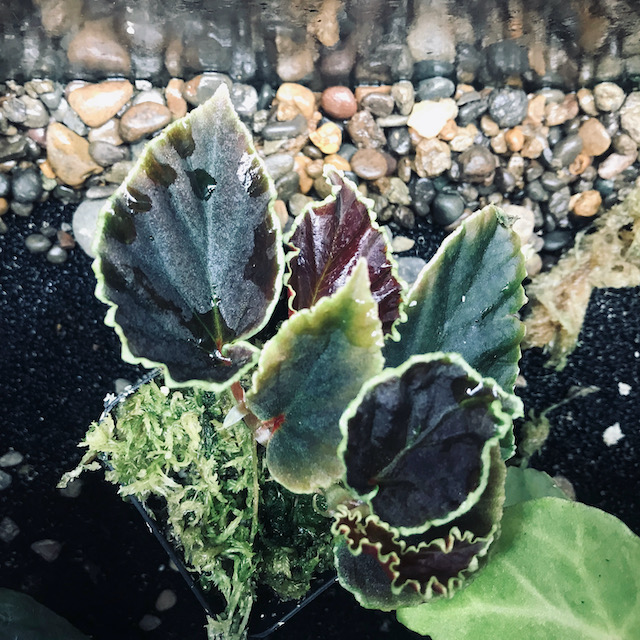
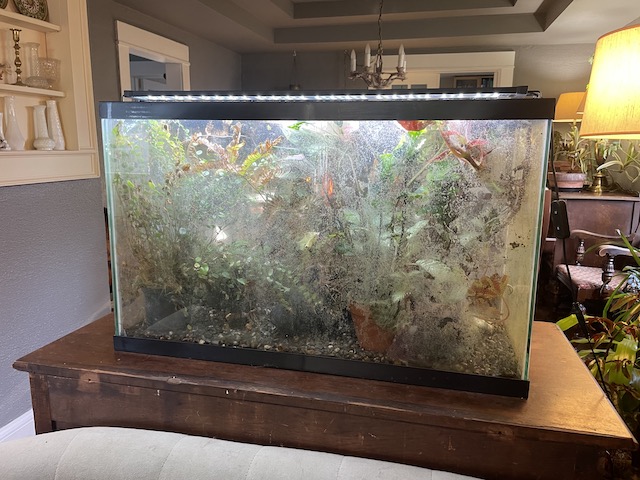
Begonias have been the happiest in the tank, and I call it that, and not a terrarium, since I keep the plants in containers. With my health issues and lots going on, I don’t want to plant the plants and deal with cleaning up soil. So there is no terra in this tank, so no terrarium.
It’s more like my lit up Wardian case showing off my babes.
When Emily of In Search of Small Things initially helped me to set this up, I had considered poison dart frogs, but I could not commit to another hobby. So instead, I’ve kept it as simple as possible and it’s worked out well this way.
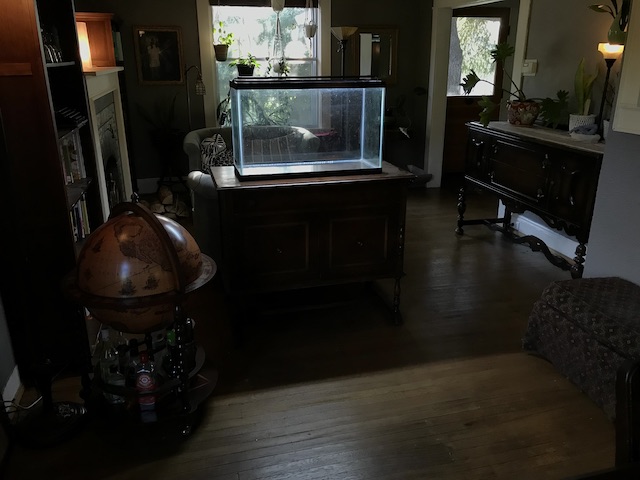
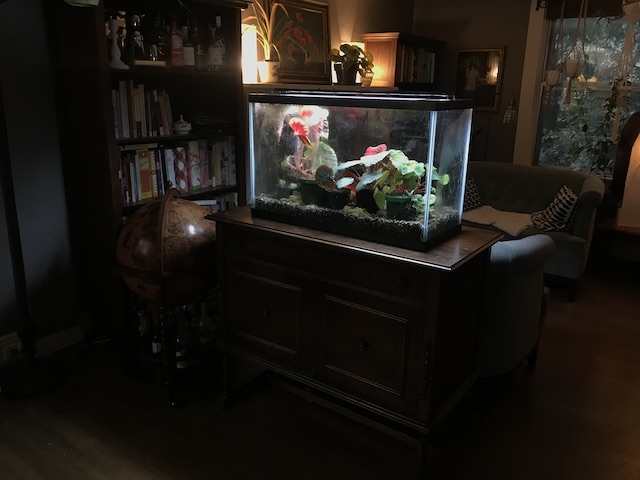
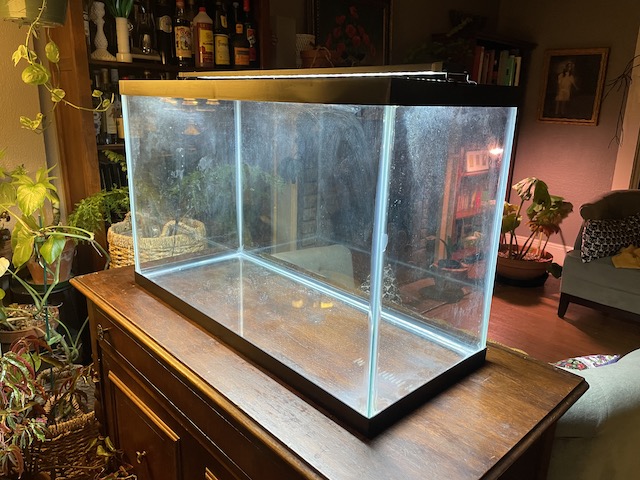
Resting on a vintage wooden cabinet, the tank is both a room divider, and a beautiful light fixture. If you’d like to make one of your own, it’s a basic 29 gallon aquarium, with a fitted glass lid bought separately, and a slim LED light. To keep things running smoothly, the setup is on a timer.
I’ve really only cleaned it well a handful of times over the years. More often, I’ve removed the plants and just cleaned the glass before reorganizing things.
For this post, I wanted to clean it all out. I needed to bleach the rocks, and I wanted to make sure that there were no more snails since last time, that was an issue after adding a plant from a vendor right into the setup.
Always feed, treat, and quarantine plants. I cannot stress that enough.

The Project

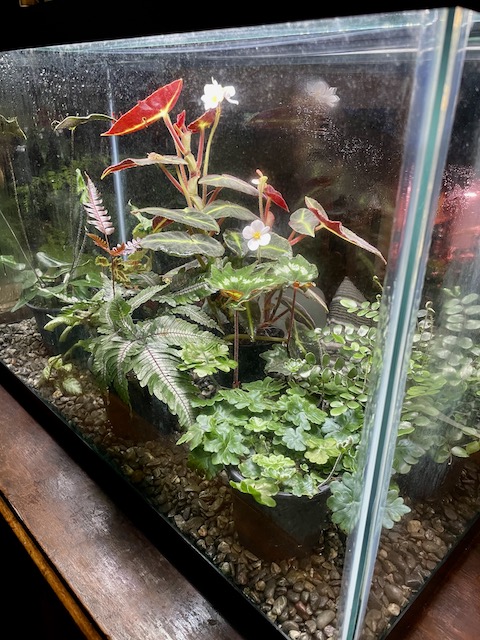

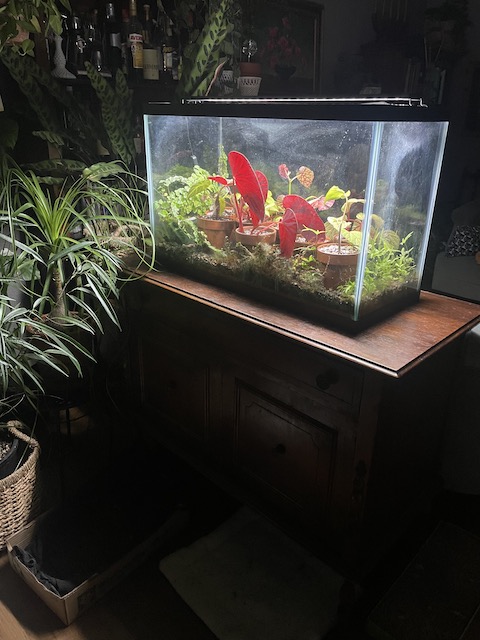
Step One: Realize that the plantings you enjoyed a year ago, have grown, and are way past their prime. Consider having friends over, but not until this is cleaned up.
Feel the motivation. Breathe.
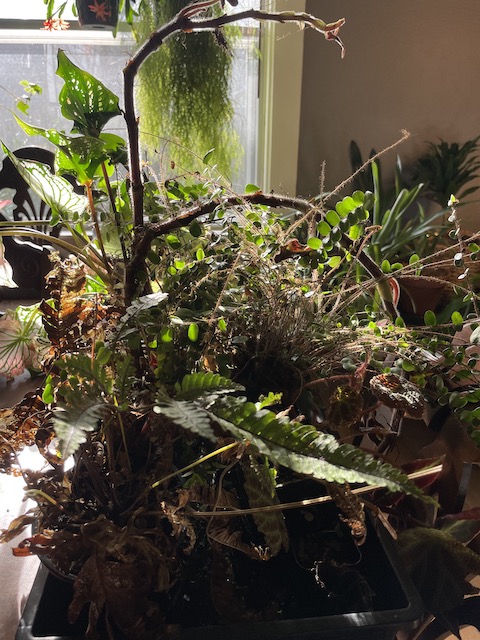
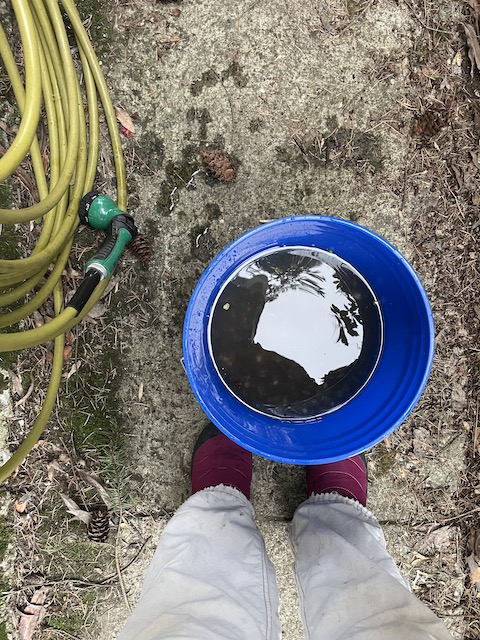
Step Two: Remove the tangle of plants, place in a tray, water, and hope they can live outside of the tank for a few days.
Later, clean and feed them, then place in a plastic bin to recover.
Step Three: Look at the tank and make a plan.
Maybe it’s your day off too? Consider an Irish coffee to make this more fun. Or, just wander into the project, needing to go to the store midway through, and still run out of the supplies you need.
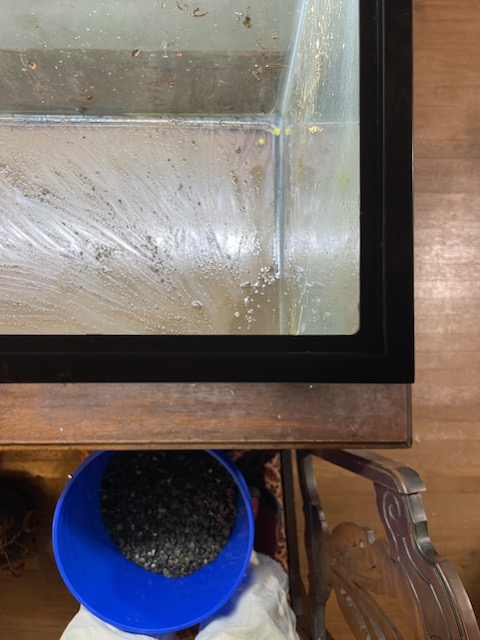
Step Four: Remove all of the pebbles.
Originally the setup had a pond filter in it and that’s better with the stones. My plants grew better during the years I had it, so I’ve decided to reinstall more of it this time around. (More on that below.)
Step Five: Rinse the stones about a dozen times as you listen to freezing rain in your garden. Enjoy the cool air.
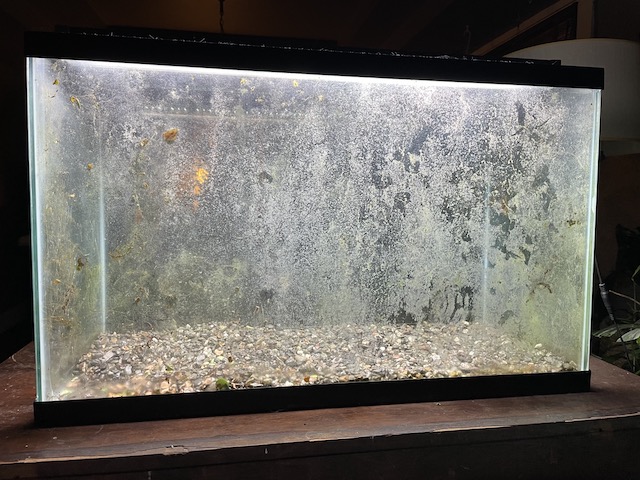
Step Six: Go back inside to do the first clean up. Then do that about 2 dozen more times with vinegar, then add baking soda.
Go to the store for Magic Eraser sponges and 0000 steel wool.
Realize that the crusty white stuff is not something you can remove. Now you know for certain. Try not to let that upset you. Don’t consider going out to buy a new tank just to post the perfect AFTER photo.
After 4 hours of scrubbing, spending a LOT of quality time with your inner OCD clean demon, give up, and eat crackers on the sofa.
Let this be a lesson in “letting it go” as you laugh and cry with your crackers.
Offer the clean demon a cracker too, then ask them politely to leave.
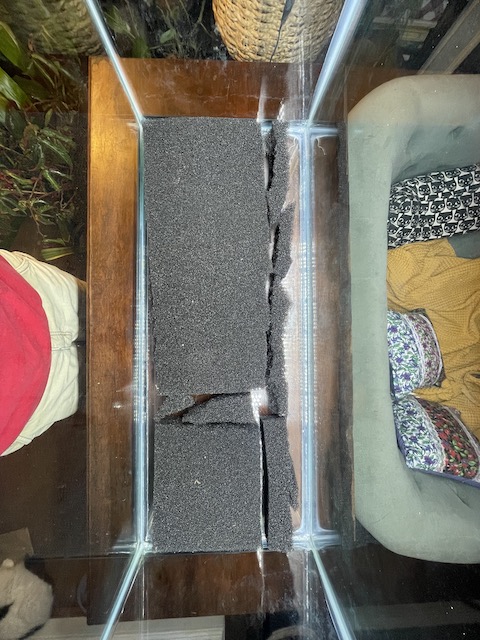
Step Seven: Add the pond filter remnants from the first installation in 2019 to the tank. That’s one way to get rid of stuff that’s been sitting around for a few too many years.
Smile and laugh as you think about writing this all up for your site.
“I cleaned like a madwoman and will be showing you how to make a messed up tank look UH-MAZE-ING! And oh hey, look at my scraps.”
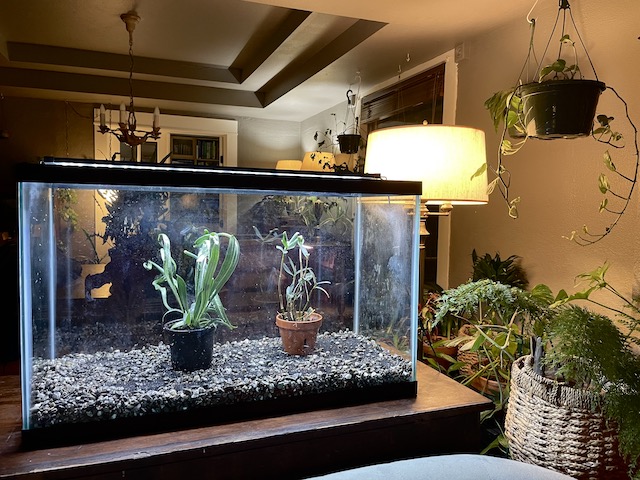
Step Eight: Add the sanitized pebbles to the tank, and a few plants that have outgrown the shorter tank across the room, and sit back and smile.
While not perfect, it looks a lot better, you made it happen… and you made it to the end.
This project worked out well, but it still needs more pebbles and plants. I can wrap that up quickly and will add an update in a future post. Until then, please let me know if you have any questions in the comments.

Leave a comment